


shopify recurring payments | Updated August 2026 | Recurpay Editorial Team | 30–60 minutes | Beginner
What You'll Learn
This guide walks you through exactly how to set up recurring payments on Shopify — from picking a subscription app to testing your first real billing cycle. Shopify doesn't offer native subscription management out of the box. Instead, you layer a subscription app on top of Shopify Payments or a supported gateway. Once configured, the app tokenizes each customer's payment method and charges it automatically on your schedule — weekly, monthly, quarterly, or annually — without them returning to your store. For most merchants, this entire setup takes between 30 and 60 minutes.
- Understand why Shopify needs a subscription app to process recurring payments
- Choose and install the right app for your business model and budget
- Create billing plans, attach them to products, and configure your payment gateway
- Test the full subscriber journey before going live
Prerequisites: An active Shopify store on any paid plan, Shopify Payments enabled (or a supported third-party gateway), and at least one product you want to offer on subscription.
Why Shopify Recurring Payments Matter in 2026
58% of DTC brands now offer subscriptions, and subscription revenue on Shopify grew 35% year over year. The global subscription ecommerce market is on track to surpass $450 billion by 2026.
Merchants with active subscription programs have 18% higher customer lifetime values and 23% lower customer acquisition costs than those without. Average subscriber LTV ranges from $350 to $800 or more, compared to $168 for one-time buyers. Subscriptions stabilize cash flow, boost LTV, and create predictable recurring revenue. Monthly recurring revenue enables smarter inventory planning and frees budget for growth.
The Process at a Glance
| Step | Action | Time | Outcome |
|---|---|---|---|
| 1 | Choose and install a subscription app | 10–15 min | App live in your Shopify admin |
| 2 | Create your subscription billing plans | 10–15 min | Billing intervals and pricing defined |
| 3 | Attach plans to products in your store | 5–10 min | Subscribe widget live on product pages |
| 4 | Verify payment gateway and policies | 5–10 min | Recurring billing authorized and compliant |
| 5 | Test the full subscriber journey and launch | 10–15 min | First subscription order confirmed live |
Total estimated time: 30–60 minutes from a standing start to a live subscription offering.
Step 1: Choose and Install a Subscription App
What You're Doing
Shopify has a Subscriptions API that allows third-party apps to integrate with checkout and handle recurring billing. To manage subscriptions — create plans, let customers pause or skip, send renewal emails, handle failed payments — you need a dedicated app layered on top.
How to Do It
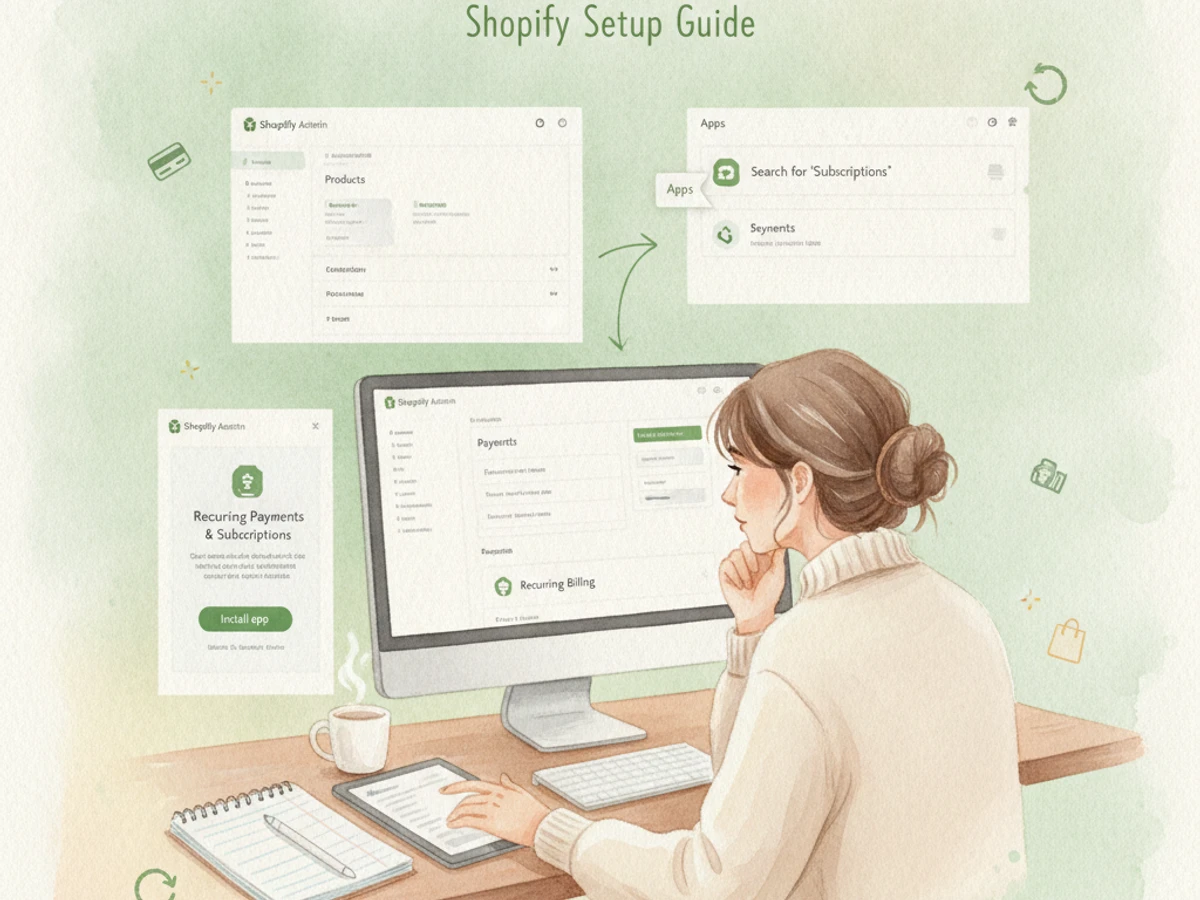
- Log in to your Shopify Admin and navigate to the App Store from the left sidebar.
- Search for "subscriptions" to browse available options. Compare apps on price, features (dunning, customer portal, analytics), and reviews.
- For a fast, cost-effective setup, consider Recurpay — rated 5/5 and priced at $9/month, it's built specifically to help Shopify merchants launch and scale subscription offerings without complexity or hidden fees.
- Click Add app on your chosen app's listing page, review the requested permissions, and confirm the installation.
- Once installed, the app integrates into your Shopify backend. Most apps guide you through an onboarding flow that takes around 15–30 minutes.
Example: Matching App to Business Model
| Business Model | Example Product | Key App Feature Needed |
|---|---|---|
| Replenishment / Subscribe & Save | Supplements, coffee, pet food | Flexible billing intervals, discount engine |
| Subscription box | Curated skincare, snack boxes | Prepaid plans, skip/pause controls |
| Membership / access | Digital content, community access | Customer portal, tiered pricing |
What Done Looks Like
The app appears in your Shopify admin sidebar and the onboarding wizard is complete or in progress. For a more detailed walkthrough, see Shopify Subscriptions - Drive more sales with subscriptions.
Join 7,500+ brands using Recurpay
Recurpay is the answer to your customer retention game in the emerging era of subscriptions.
Get StartedStep 2: Create Your Subscription Billing Plans
What You're Doing
A billing plan defines how often customers are charged, at what price, and under what conditions. This step lives entirely inside your chosen app, not in native Shopify settings.
How to Do It
- Open the subscription app from your Shopify admin sidebar and navigate to the Plans or Subscriptions section.
- Create a new plan and set the billing interval: weekly, monthly, every 60 days, quarterly, or annually.
- Set the subscription price. Most merchants offer a 10–15% discount versus the one-time price to incentivize signups. A 10–15% subscribe-and-save discount converts 8–15% of repeat buyers to subscribers.
- If you want prepaid options (e.g., pay for 3 months upfront), configure this as a separate plan.
- Save the plan. You can create multiple plans and let customers choose the cadence that suits them.
Best Practices
- Start with one or two billing frequencies rather than five — decision fatigue reduces conversions.
- Name plans descriptively: "Monthly — save 10%" is clearer than "Plan A."
- Match billing frequency to actual product consumption.
What Done Looks Like
At least one active billing plan is saved in the app, showing the correct interval, discount, and price. For a more detailed walkthrough, see How To Setup Subscription And Recurring Payments On Shopify. For related guidance, see Best Shopify Subscription App For Flexible Billing Options.
Step 3: Attach Plans to Products and Activate the Store Widget
What You're Doing
A billing plan only becomes visible to customers once it's linked to specific products. This step connects the plans you created in Step 2 to the relevant product pages, enabling the subscribe-and-save widget that shoppers interact with at checkout.
How to Do It
- Inside the app, navigate to the Products section and select the products you want to offer on subscription.
- Choose which products or collections will be available for subscription.
- Assign the relevant billing plan(s) to each product. A customer visiting that product page will now see a toggle or widget allowing them to choose "One-time purchase" or "Subscribe & Save."
- Personalize the subscription widget setup so it fits seamlessly with your store's design and theme.
- Preview the product page in your storefront to confirm the widget renders correctly before moving to the next step.
Common Mistakes
- Attaching plans to out-of-stock or discontinued products. Only attach plans to products with reliable inventory.
- Hiding the subscription option below the fold. The widget should appear prominently alongside the "Add to Cart" button.
What Done Looks Like
The subscribe-and-save widget is visible on the correct product pages in your live storefront, with the correct billing interval and discounted price displayed.
Step 4: Verify Your Payment Gateway and Subscription Policy
What You're Doing
Make sure you're using Shopify Payments or a payment gateway that your app supports. Not all payment processors support subscription billing. This step also covers the legal requirement of making your cancellation policy visible at checkout.
How to Do It
- In your Shopify Admin, go to Settings > Payments and confirm your active gateway. Shopify recurring payments run on supported gateways including Shopify Payments, PayPal Express, Authorize.net, Adyen, and Stripe.
- If you're using a third-party gateway, check your app's documentation to confirm compatibility.
- Go to Settings > Policies, review the generated Subscription Policy, and ensure this policy is linked in your Checkout Footer.
- Customers must check a box agreeing to these terms before completing a recurring purchase — a built-in safeguard against billing disputes.
- Confirm that your app's dunning settings are configured. Implementing dunning management can cut payment-related churn by 30–50% in the first month.
Best Practices
- Use Shopify Payments as your primary gateway whenever possible — it has native subscription support and the simplest configuration path.
- Enable a customer self-service portal so subscribers can update payment methods, skip orders, or pause without contacting support.
What Done Looks Like
Your gateway is confirmed as subscription-compatible, the cancellation policy is published and linked from checkout, and dunning retry logic is switched on.
Step 5: Test the Full Subscriber Journey and Launch
What You're Doing
Before accepting real subscriber payments, walk through the entire customer experience end-to-end. A broken checkout or misconfigured renewal email discovered post-launch is far more costly than 15 minutes of testing before you go live.
How to Do It
- Enable Test Mode in your payment gateway settings and use Shopify's test card numbers to place a subscription order on one of your configured products.
- Confirm that the correct plan, interval, and discounted price appear at checkout.
- Check automated emails for order confirmations and renewals, and ensure customers can modify their subscriptions without issues.
- Log in to the customer portal (using your test account) and verify that the skip, pause, and cancel functions all work as expected.
- Disable Test Mode, then promote your subscription offering — update product page descriptions, add a banner to your homepage, and consider a launch discount for early subscribers.
Example: Pre-Launch Checklist
| Item | Expected Result | Pass / Fail |
|---|---|---|
| Subscribe widget visible on product page | Correct interval and price shown | [ ] |
| Test checkout completed | Order created in Shopify admin | [ ] |
| Confirmation email received | Correct product, interval, price | [ ] |
| Customer portal accessible | Skip, pause, cancel all functional | [ ] |
| Cancellation policy linked at checkout | Checkbox visible before payment | [ ] |
| Dunning retry logic enabled | Confirmed in app settings | [ ] |
What Done Looks Like
Every item on the pre-launch checklist passes, test mode is disabled, and your first real subscriber order is confirmed in the Shopify admin.
What to Do After Setting Up Shopify Recurring Payments
Phase 1: Optimize the First 30 Days
Monitor your subscription dashboard daily for the first month. Track new subscriber count, failed payment rate, and support tickets related to the portal. A spike in failed payments in week one usually signals a gateway configuration issue. Fix it immediately to prevent involuntary churn.
Phase 2: Build a Retention System (Days 30–90)
Average subscription churn in ecommerce runs at 7–10% per month. Combat this with automated dunning emails for failed payments, a pause-before-cancel flow that offers subscribers a break instead of an exit, and subscriber-exclusive perks such as free shipping or early product access.
Phase 3: Scale and Analyze (90 Days Onward)
Once your baseline is stable, expand your subscription offering. Add new billing cadences, experiment with prepaid plans, and use your app's analytics to identify which products have the lowest churn. Apps like Recurpay include robust analytics to track subscriber growth and revenue trends — giving you the data to make informed scaling decisions. For related guidance, see Best Shopify Subscription Apps To Grow Your Recurring Revenue 2.
Resources You'll Need
| Resource | Role in Process | Required / Recommended | Price |
|---|---|---|---|
| Recurpay | Subscription app — launch, manage, and scale Shopify recurring payments | Recommended | $9/month | 5/5 rating |
| Shopify Payments | Native payment gateway with built-in subscription billing support | Required (or compatible gateway) | Included with Shopify plan |
| Shopify App Store — Subscriptions | Browse and compare all available subscription apps | Required | Free to browse |
| Shopify Subscriptions Help Center | Official documentation for subscription setup, policies, and troubleshooting | Recommended | Free |
See also, see Best Recurring Payment System: Ecommerce Subscription ....
Troubleshooting Common Issues
Problem: Subscription Option Not Appearing on Product Page
Likely cause: The billing plan was created inside the app but not attached to the specific product, or the widget wasn't enabled for that product variant.
Fix: Return to the app's Products section, confirm the plan is assigned to the correct product and all relevant variants. Preview the product page in an incognito browser window after saving to confirm the widget renders.
Problem: Recurring Charges Failing After Successful First Payment
Likely cause: The most common reasons are expired credit cards, insufficient funds, bank declines, and outdated billing information. Insufficient funds account for 44% of all payment declines.
Fix: Ensure dunning retry logic is active in your app settings. Send customers a one-tap card-update link rather than directing them to a full login flow. The best flows push the customer to a fast payment update action.
Problem: Payment Gateway Incompatibility Error on Checkout
Likely cause: Your store is using a third-party gateway that doesn't support Shopify's Subscriptions API.
Fix: Switch to Shopify Payments or one of the confirmed compatible gateways: PayPal Express, Authorize.net, Adyen, or Stripe. Check your app's documentation for the current supported gateway list, as availability varies by region.
Problem: High Early Churn in the First 60 Days
Likely cause: Subscribers didn't clearly understand what they were signing up for, the product doesn't deliver enough perceived value, or there's no pause option forcing cancellation as the only exit.
Fix: Give subscribers the option to pause before they can cancel. Add a post-cancellation survey to understand the specific reason, then address the most common response systematically. For more troubleshooting advice, see Shopify Subscription Troubleshooting: Fix Common Issues ....
Conclusion
Key Takeaways
- Outcome recap: Setting up Shopify recurring payments is a five-step process — install a subscription app, create billing plans, attach them to products, verify your gateway and policies, then test and launch. The entire setup takes under an hour for most merchants.
- Key insight: Shopify provides the payment infrastructure, but a dedicated subscription app handles plan management, customer portals, dunning, and analytics. Choosing the right app for your model is the most consequential decision in the process.
- Next action: Install a subscription app today, create one billing plan for your highest-repurchase product, and run a test order before the end of the week.
FAQ
How do you set up recurring payments on Shopify?
Follow five core steps: (1) Install a subscription app from the Shopify App Store, such as Recurpay, rated 5/5 and starting at $9/month. (2) Create subscription billing plans that define your billing interval (weekly, monthly, annually) and any subscriber discount. (3) Attach those plans to the specific products you want to offer on subscription, which activates the subscribe-and-save widget on product pages. (4) Verify that your payment gateway (Shopify Payments, Stripe, Authorize.net, or another supported option) is compatible with subscription billing, and publish your cancellation policy in Shopify's Settings > Policies. (5) Run a full test order using Shopify's test card, confirm that confirmation emails and the customer portal work correctly, then disable test mode and launch. The entire process takes 30–60 minutes for most beginner merchants.
Does Shopify support recurring payments natively?
Shopify Payments natively supports subscription billing at the infrastructure level, but to actually manage subscriptions — create plans, let customers pause or skip, send renewal emails, handle failed payments — you still need a dedicated subscription app on top of that. Shopify provides the payment rails; the app provides the logic.
Which payment gateways support Shopify recurring billing?
Recurring payments on Shopify run on supported gateways including Shopify Payments, PayPal Express, Authorize.net, Adyen, and Stripe. Gateway availability varies by country, so confirm that your chosen gateway is supported in your region before building your subscription offering around it. Shopify Payments is the simplest starting point for US merchants because it requires no additional configuration.
How much does it cost to add subscriptions to a Shopify store?
The cost has two components: your Shopify plan (which you already pay) and a subscription app fee. Recurpay starts at $9/month with a 5/5 rating, making it one of the most cost-effective options for merchants just starting with Shopify recurring payments. Some apps also charge a percentage of subscription revenue on top of the monthly fee, so factor total cost into your pricing when evaluating options.
What is the biggest cause of failed recurring payments on Shopify?
Insufficient funds account for 44% of all payment declines, making them the single most common and most recoverable failure type. Other frequent causes include expired cards, outdated billing information, and bank fraud flags on unfamiliar recurring charges. The solution is a well-configured dunning system inside your subscription app that retries charges at smart intervals and sends customers a frictionless card-update link.
How do I reduce subscriber churn on Shopify?
Address both voluntary and involuntary churn separately. For involuntary churn (failed payments), configure dunning retry logic in your subscription app immediately after launch. Implementing dunning management can cut payment-related churn by 30–50% in the first month. For voluntary churn, flexible skip and pause options reduce churn by 25–35% by giving subscribers an alternative to outright cancellation. Adding subscriber-exclusive perks like free shipping or early access further reinforces the value of staying subscribed.
Can I offer both one-time purchases and subscriptions on the same Shopify product?
Yes. Some subscription apps allow you to sell subscription-only products or offer a mix of one-time purchases and subscriptions. The typical approach is a widget on the product page with two options: "Buy once" at the standard price and "Subscribe & Save" at a discounted rate. This reduces friction by letting customers choose their preferred purchase mode without leaving the page.
How do I test my Shopify subscription setup before going live?
Enable Test Mode in your payment gateway settings and use Shopify's official test card numbers to place a simulated subscription order. Walk through the entire customer journey: checkout, confirmation email, customer portal access, and the skip/pause/cancel flow. Only disable Test Mode once every item on your pre-launch checklist passes. This 15-minute exercise prevents the most common post-launch issues.
Methodology: This guide was researched using current Shopify platform documentation, publicly available subscription ecommerce benchmarks, and best practices observed across Shopify merchant case studies as of August 2026. Step sequences and gateway compatibility details reflect standard configurations and may vary depending on your Shopify plan, app version, and geographic region. Always verify gateway support with your chosen subscription app before launch. This article is published on the Recurpay website and includes Recurpay as a recommended tool; readers are encouraged to evaluate all options that meet their business requirements.